|
Facebook ��React.js Conf 2015������Ƴ��˻��� JavaScript �Ŀ�Դ���React Native��React Native ����� Web Ӧ�ú� Native Ӧ�õ����ƣ�����ʹ�� JavaScript ������ iOS �� Android ԭ��Ӧ�á��� JavaScript ���� React �������ϵͳԭ���� UI ��������� DOM Ԫ������Ⱦ�ȡ�
React Native enables you to build world-class application experiences on native platforms using a consistent developer experience based on JavaScript and React. The focus of React Native is on developer efficiency across all the platforms you care about �� learn once, write anywhere. Facebook uses React Native in multiple production apps and will continue investing in React Native.
React Native ʹ���ܹ�ʹ�û��� JavaScript �� React һ�µĿ��������ڱ���ƽ̨�Ϲ�������һ����Ӧ�ó������顣React Native ���ص�������п�����Ա���ĵ�ƽ̨�Ŀ���Ч���ϡ���������ֻ��ѧϰһ�����Ծ�������Ϊ�κ�ƽ̨��Ч�ر�д���롣Facebook �ڶ��Ӧ�ó����Ʒ��ʹ���� React Native����������Ϊ React Native Ͷ�ʡ�
���ڲ�̫�˽�React Native��ʲô�Լ�FacebookΪʲôҪ����React Native�������ȿ�����ƪ���͡�
Facebook �� 2015 �� 9 �� 15 �շ����� React Native for Android�� �� Web ��ԭ��ƽ̨�� JavaScript ����������չ���� Google �������ƶ�ƽ̨�CAndroid��
�����Ŀ����������˵�����Ժ�����Ҳ��ʹ������ܽ���App���������Ա�Ԥ��ѧϰһ�£�˳�����±ʼǣ���������ҡ�
���ȴ��������һ����������Node.js��ȥ�������أ���Ӧ����ϵͳ�汾��

����Win 10�����ص�64λ��������ɺ�ֱ�Ӱ�װ��
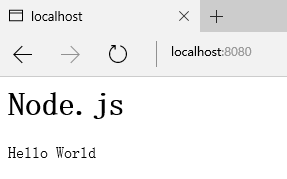
�������ⴴ��һ��һ��test.js��������Node.js�Ƿ�װ�ɹ���
var http = require("http");
http.createServer(function(req, res) {
res.writeHead( 200 , {"Content-Type":"text/html"});
res.write("<h1>Node.js</h1>");
res.write("<p>Hello World</p>");
res.end("");
}).listen(8080);
console.log("HTTP server is listening at port 8080."); |
Ȼ����뵽��Ӧ��Ŀ¼��ִ��cmd���������node test.js��Ȼ���������localhost:8080������ʾ�������ǰ�װ�ɹ���
OK��������еڶ�����ʹ��npmָ�װreact-native-cli���������У�ִ��ָ�
npm install -g react-native-cli |
react-native-cli����������React Native�������й��ߡ�����Ҫʹ��npm����װ�����������д��뽫���������terminal�а�װreact-native�������cmd����ֻ��Ҫִ��һ�Σ������ɳ���ʹ�á�
�������Կ�ʼ�������ǵ�React Native��Ŀ�ˡ�
�������Լ����ļ���֮��cmd��������ļ��У�ִ�����
react-native init HelloWorld |
HelloWorld������Ŀ�������Լ�����ȡ��

ִ�����֮��������HelloWorld�ļ��С�Ŀ¼�ṹ�������ģ�
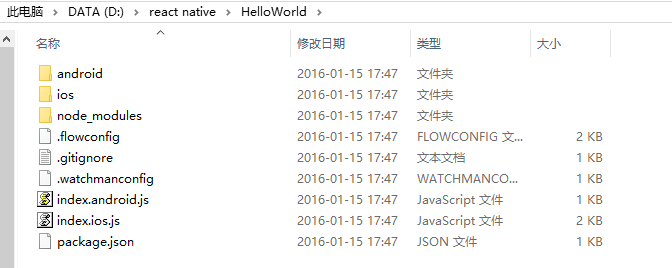
���Կ������ɵ���Ŀ�Ȱ���IOS��Ҳ����Android����Ϊ����Android���������Ծ���ʱ����IOS�ˡ�
��������ִ�����֮�����ǻῴ��To run your app on Android����ʾ�����뵽HelloWorld�ļ��У�ִ�����
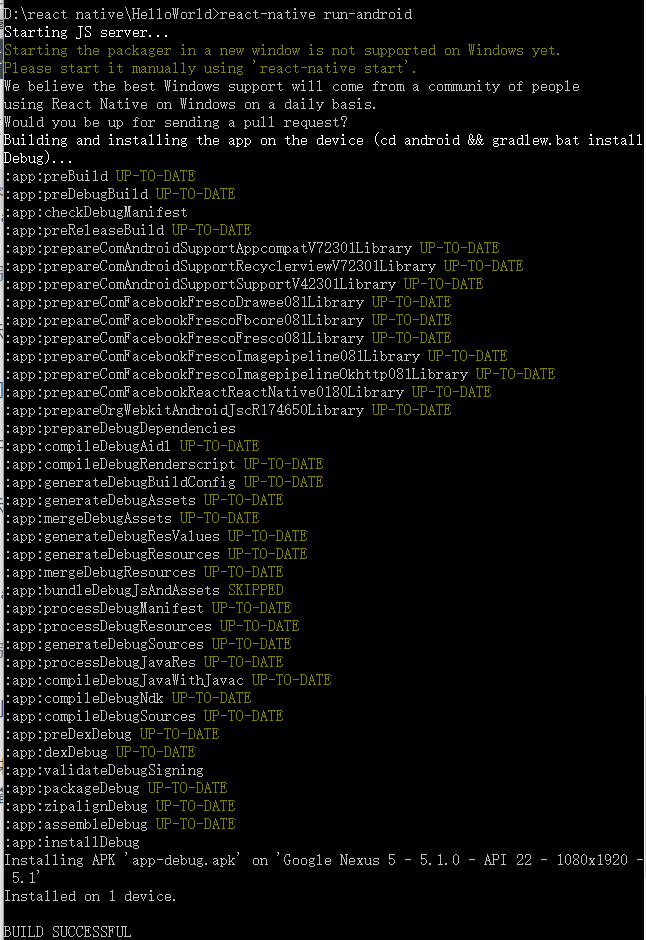
ͼ����ʾ�����ڽ��б��룬����װ�ˡ�
����ɹ���װ���У��������£�
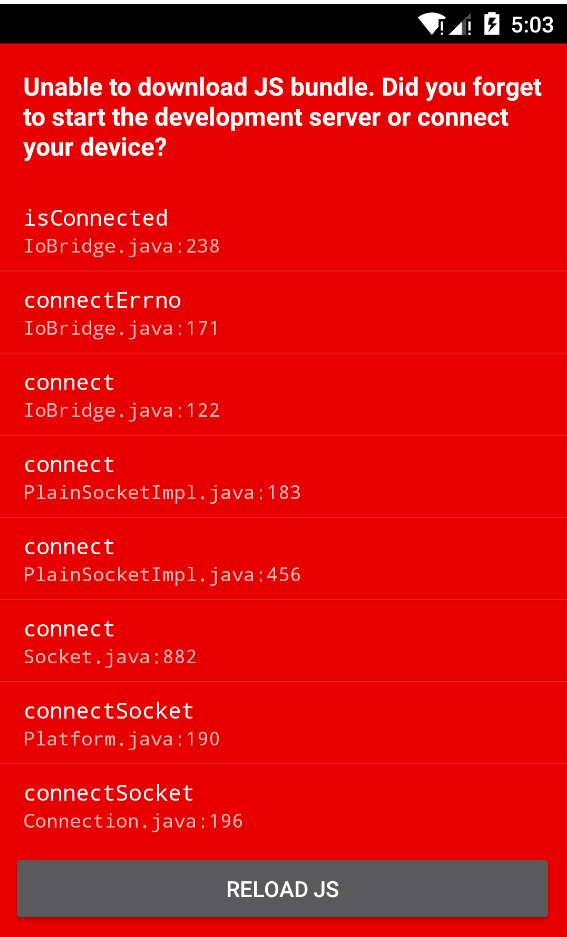
��ʾ��������JS bundle����������ע��һ�±���ʱ�Ļ�ɫ��ʾ��Starting the packager in a new window is not supported on Windows yet.Please start it manually using 'react-native start'.����˵��֧����Windows���Զ�����packager����Ҫ�����Լ���������
������ʾ����ִ�����
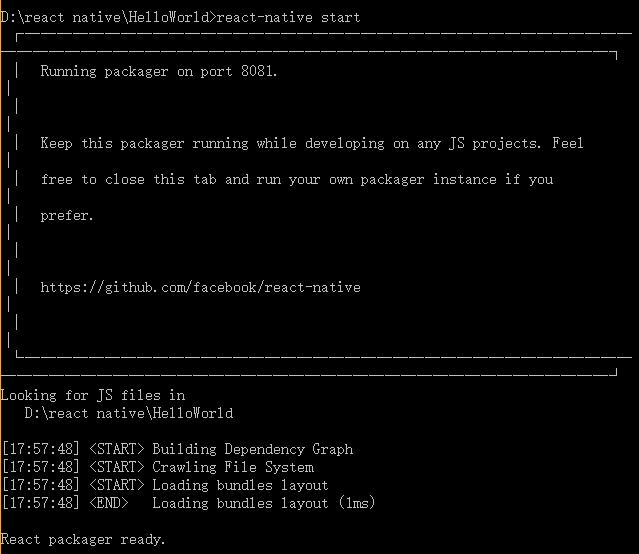
���Կ���React packager ready.
OK�������������ǵij���
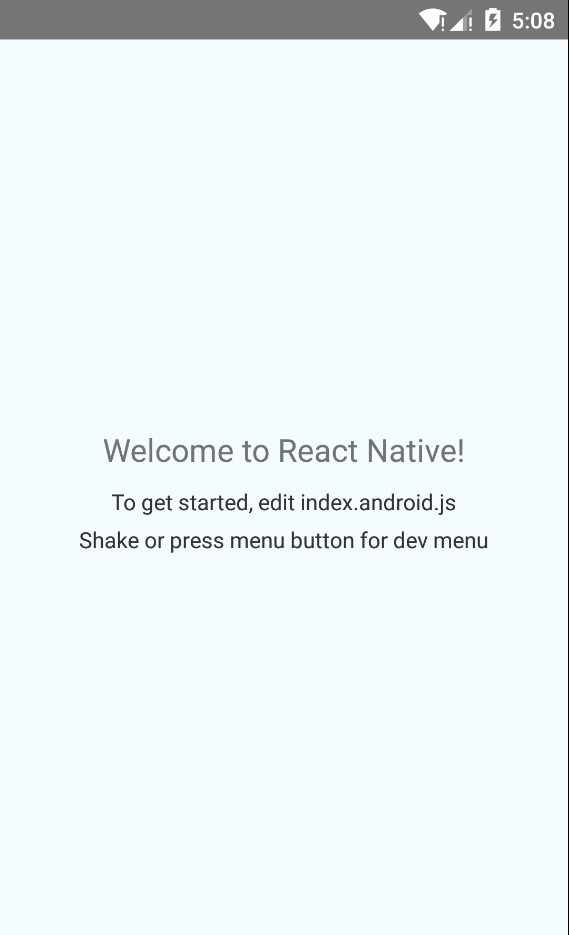
��ʱ�������ʾ�����ˣ�
ͬʱReact packager���ӡһЩ��Ϣ��
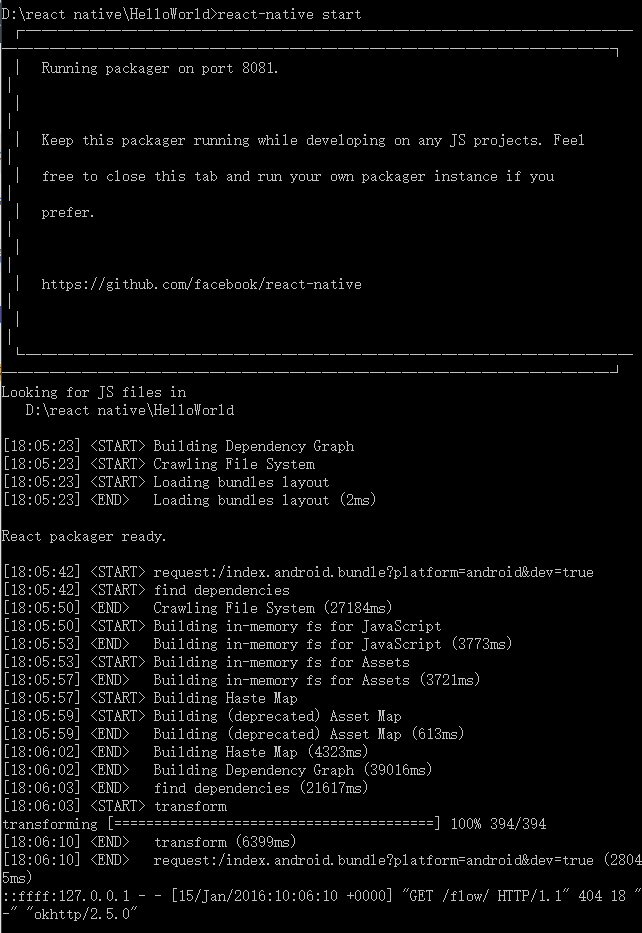
�ܶණ��������������ʱ���Ȳ����ˣ������������˽⣬�������ڿ�����û��ʲô����
��������о�һ����ʾ�������ϵ����ݵ�������ô���ġ�
����HelloWolrd�ļ�������index.android.js�ļ����༭���������Ĵ����������ģ�
/**
 * Sample React Native App
 * https://github.com/facebook/react-native
 */
'use strict';
import React, {
  AppRegistry,
  Component,
  StyleSheet,
  Text,
  View
} from 'react-native';
class HelloWorld extends Component {
render() {
return (
<View style={styles.container}>
<Text style={styles.welcome}>
Welcome to React Native!
</Text>
<Text style={styles.instructions}>
To get started, edit index.android.js
</Text>
<Text style={styles.instructions}>
Shake or press menu button for dev menu
</Text>
</View>
);
}
}
const styles = StyleSheet.create({
container: {
flex: 1,
justifyContent: 'center',
alignItems: 'center',
backgroundColor: '#F5FCFF',
},
welcome: {
fontSize: 20,
textAlign: 'center',
margin: 10,
},
instructions: {
textAlign: 'center',
color: '#333333',
marginBottom: 5,
},
});
AppRegistry.registerComponent('HelloWorld', () => HelloWorld); |
��ʱ�����Ŵ�������棬���DZ���ԴIJ²��������ʾ�����־���HelloWorld class�ж�Ӧ��3��Text��ǩ�ˡ����波��һ�£�
HelloWorld class����ij����£�
class HelloWorld extends Component {
  render() {
    return (
      <View style={styles.container}>
        <Text style={styles.welcome}>
          Hello World!
        </Text>
      </View>
    );
  }
} |
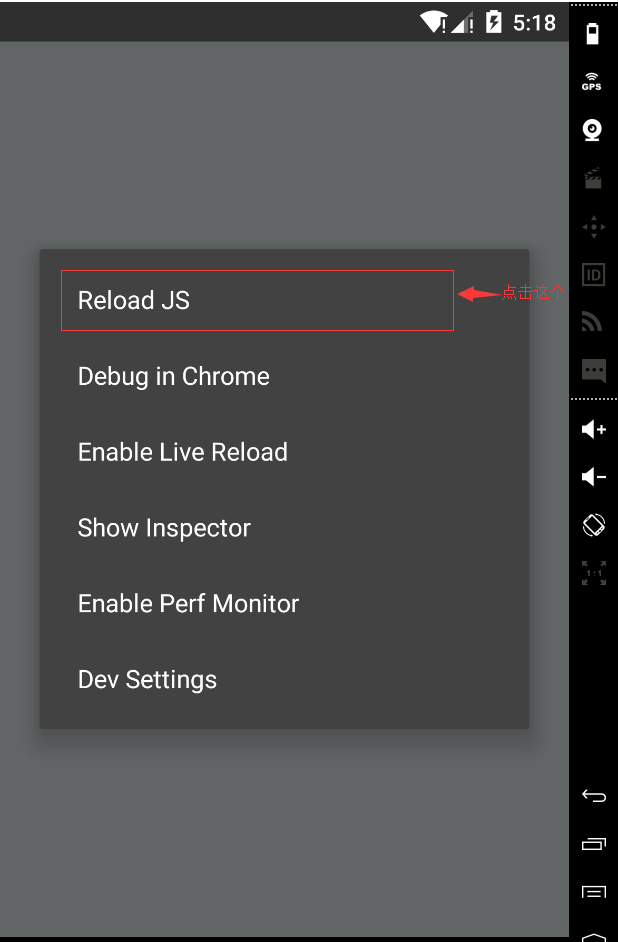
���ǰ�֮ǰ3��Text��ǩȥ����дһ����ʾHello World��Text��ǩ����ô�ĺ�֮����ο���Ч���أ�������ע�⣬�����React Native��ܷdz������ĵط����㲻��Ҫ���±��밲װapk�����°��Ȳ�����ֱ����������Menu�����Roload JS����ʵ�ָ��£�
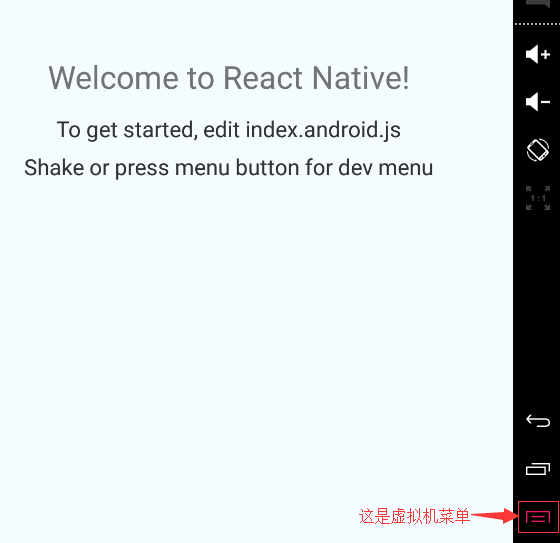

���Կ���������ȷʵ�DZ��������Ԥ������ӡ�
�����Ҵӹ���������һ��index.android.js���룺
/**
 * Sample React Native App
 * https://github.com/facebook/react-native
 */
'use strict';
var React = require('react-native');
var {
AppRegistry,
Image,
ListView,
StyleSheet,
Text,
View,
} = React;
var API_KEY = '7waqfqbprs7pajbz28mqf6vz';
var API_URL = 'http://api.rottentomatoes.com/api/public/v1.0/lists/movies/in_theaters.json';
var PAGE_SIZE = 25;
var PARAMS = '?apikey=' + API_KEY + '&page_limit=' + PAGE_SIZE;
var REQUEST_URL = API_URL + PARAMS;
var AwesomeProject = React.createClass({
getInitialState: function() {
return {
dataSource: new ListView.DataSource({
rowHasChanged: (row1, row2) => row1 !== row2,
}),
loaded: false,
};
},
componentDidMount: function() {
this.fetchData();
},
fetchData: function() {
fetch(REQUEST_URL)
.then((response) => response.json())
.then((responseData) => {
this.setState({
dataSource: this.state.dataSource.cloneWithRows(responseData.movies),
loaded: true,
});
})
.done();
},
render: function() {
if (!this.state.loaded) {
return this.renderLoadingView();
}
return (
<ListView
dataSource={this.state.dataSource}
renderRow={this.renderMovie}
style={styles.listView}
/>
);
},
renderLoadingView: function() {
return (
<View style={styles.container}>
<Text>
Loading movies...
</Text>
</View>
);
},
renderMovie: function(movie) {
return (
<View style={styles.container}>
<Image
source={{uri: movie.posters.thumbnail}}
style={styles.thumbnail}
/>
<View style={styles.rightContainer}>
<Text style={styles.title}>{movie.title}</Text>
<Text style={styles.year}>{movie.year}</Text>
</View>
</View>
);
},
});
var styles = StyleSheet.create({
container: {
flex: 1,
flexDirection: 'row',
justifyContent: 'center',
alignItems: 'center',
backgroundColor: '#F5FCFF',
},
rightContainer: {
flex: 1,
},
title: {
fontSize: 20,
marginBottom: 8,
textAlign: 'center',
},
year: {
textAlign: 'center',
},
thumbnail: {
width: 53,
height: 81,
},
listView: {
paddingTop: 20,
backgroundColor: '#F5FCFF',
},
});
AppRegistry.registerComponent('AwesomeProject', () => AwesomeProject); |
Ȼ��Reload JS���������£�
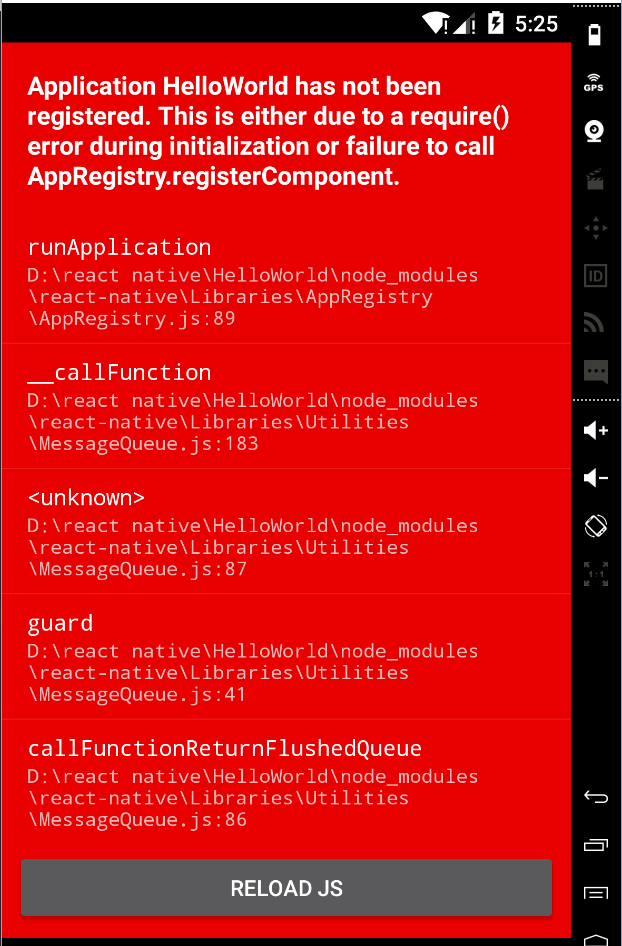
ѽ�������ˡ����ǿ�������registerComponent��ʱ������ˡ����������ǵ���Ŀ������HelloWorld�������һ�����ĵ���
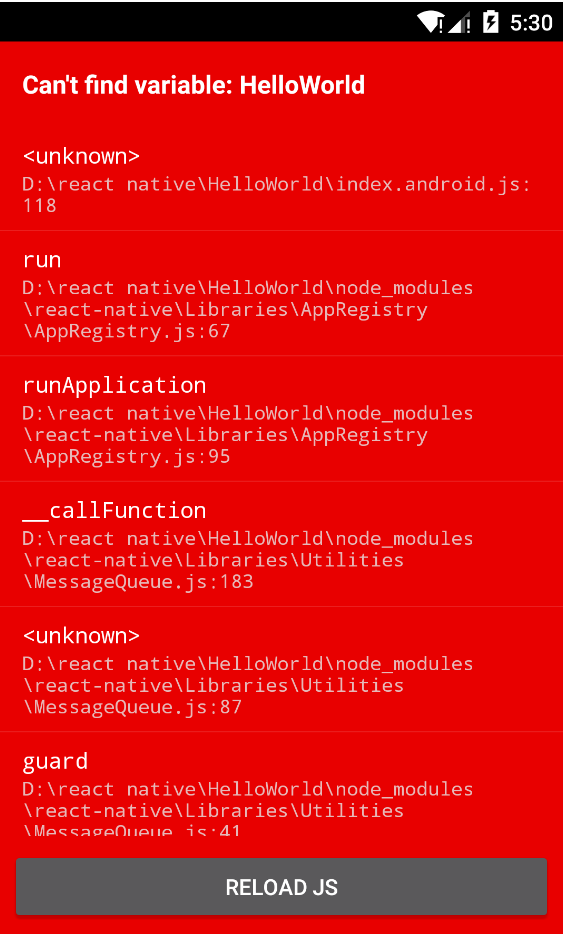
AppRegistry.registerComponent('HelloWorld', () => AwesomeProject); |
Reload JS��
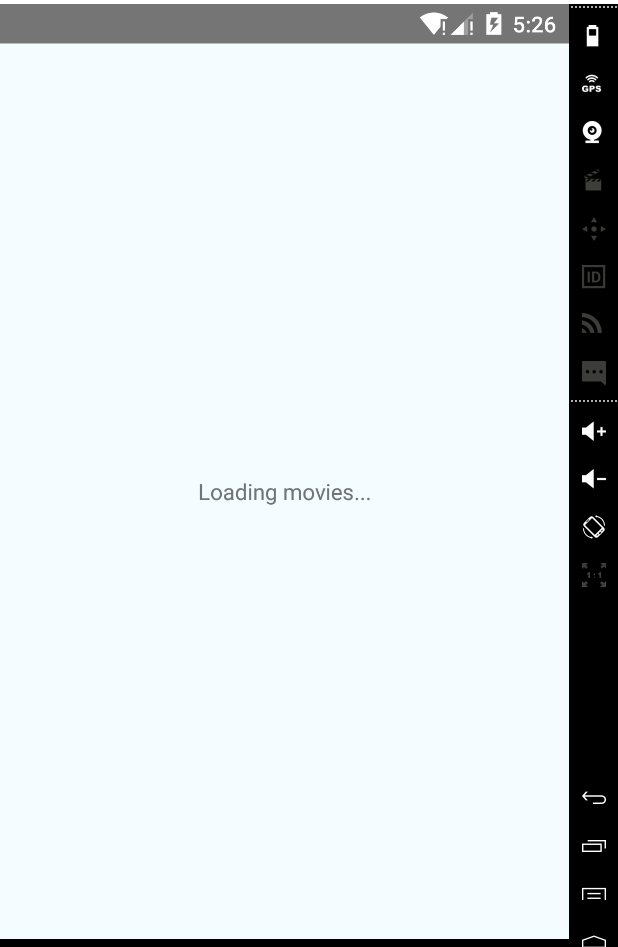
������Ϻ����ʾ���棺

���ǽ�����ijɣ�
AppRegistry.registerComponent('HelloWorld', () => HelloWorld); |
ִ���ֳ����ˣ�
�������������Ҹ�ѽ��������ʲôԭ�ͷ����Ժ�����ȥ����ȥ����ˡ���������JS�����д��Ҳ����Ҫ��ʵ�����������ۣ�ѧϰ�����������ա�
����͵������ˣ����붼���Զ����ɵģ��㲻�ϴ��ˡ�Have a nice weekend~
|


